| Platform/Product/Module: | ClubSpark – Website |
| Function: | Publish a ‘contact’ page on your club website to allow players to get in touch with you |
Your Contact Page is where you can enter all the necessary information required for members/players to find your venue and get in touch.
You can also create a Contact Us form, which will protect you from having your email address publicly shown on your website.
To edit and publish your Contact Page follow the step below.
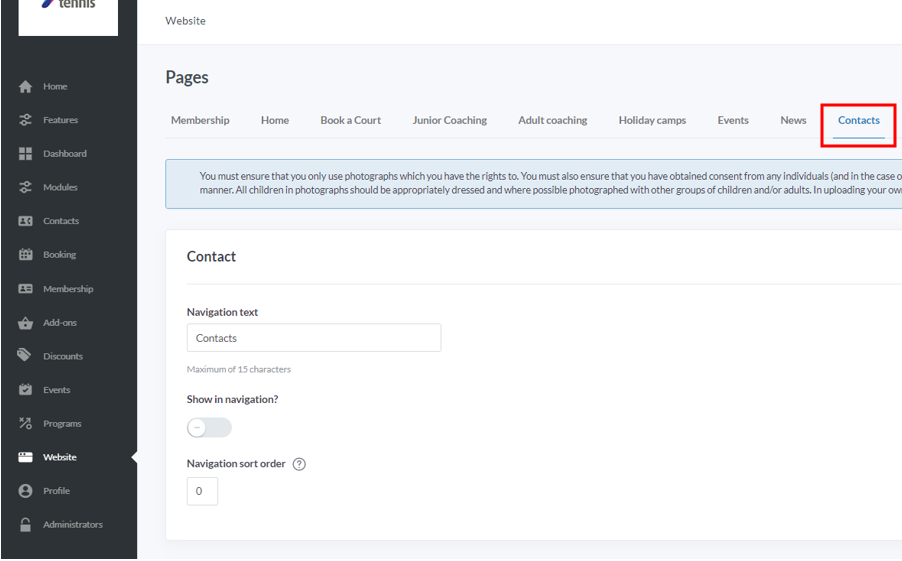
1.
Head to the website module and then select the contact page from the top.
Firstly, chose a Navigation text that will be displayed to the public on your website menu.
2.
Then, you’ll be able to fill in your contact details in Page content.
You can give your page a heading and include an image if you want to.
In Contact info, specify any additional information you’d like to share with your website visitors that should help them get in contact with your club.
If you do not wish to PUBLICLY DISPLAY any contact details, skip this step. Avoid posting personal details such as email addresses and mobile numbers if possible.
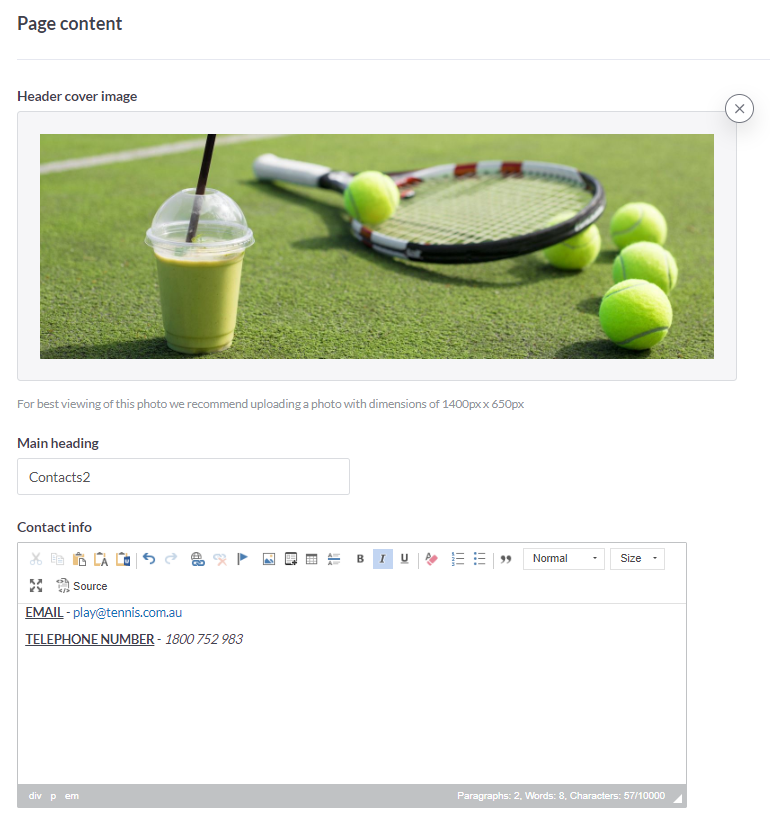
Please Note: We recommend uploading a photo with the dimensions of 1400px by 650px.
3.
Next, you’ll be able to decide if you’d like a Contact us Form to display on your website.
By doing so, you avoid sharing your email address or other contact details with anyone visiting your website and prevent potential spam/hacking and malicious behaviors.
To publish this form on your contact page, slide the “Show contact us form?” toggle button to on (blue) – see screenshot below.
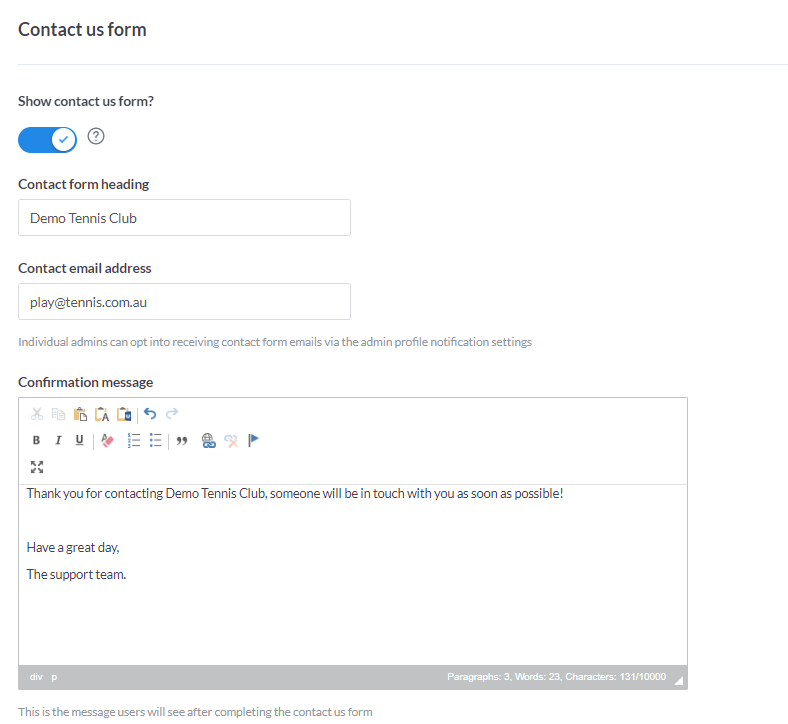
Once enable, enter an email address of your choice, where all enquiries will be sent to.
Administrators will also be able to receive notifications when a form is sent via the Admin Notification settings.
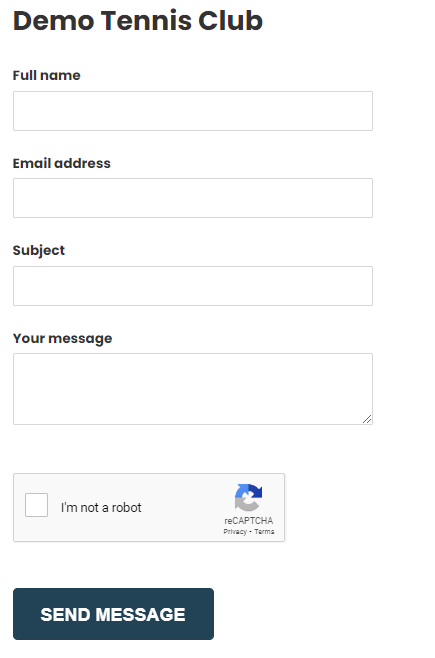
Note: This is how it will display to the public on your Contact website page:
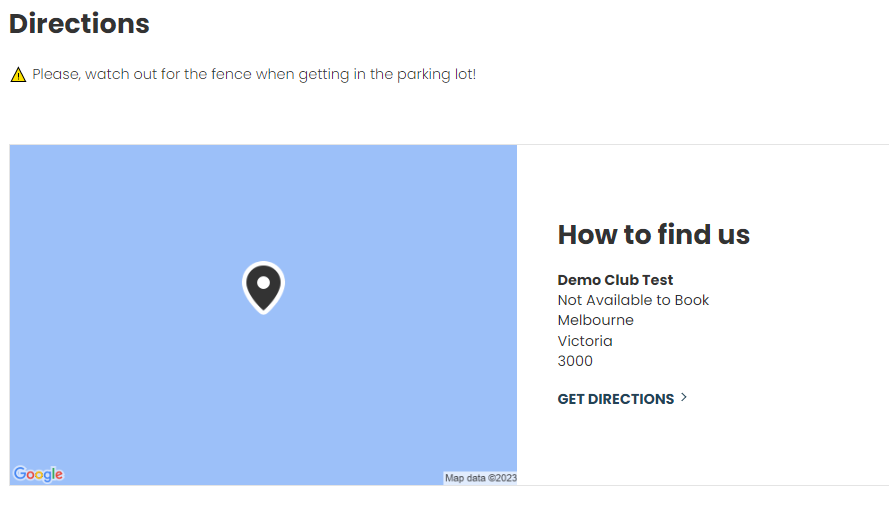
4.
In the Directions section, you’ll be able to indicate people how to find your club.
You can give them specific directions in the Directions content box and/or decide if you’d like a map to show your club’s location by sliding the “Show Map?” toggle button to on (blue).
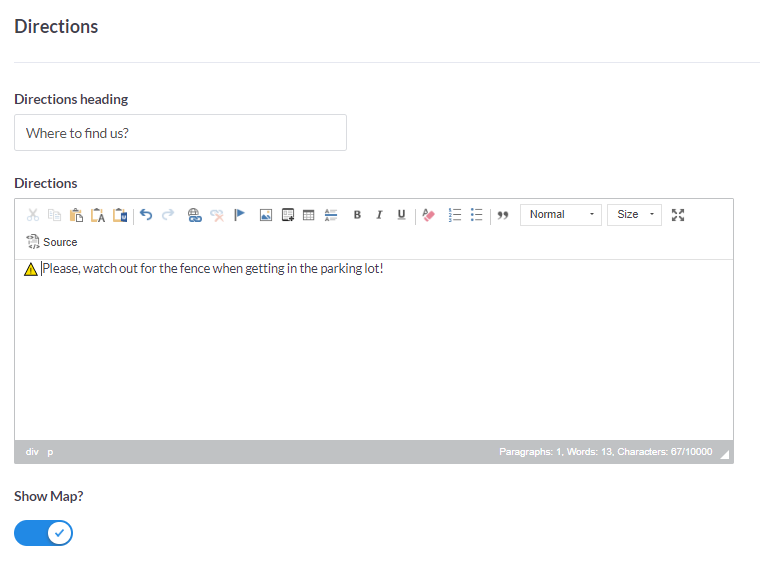
Note: This is how it will display on your Contact Us page:
5.
In the Sub pages section, if needed, you’ll be able to create up to 7 sub-pages to display on your Contact page.
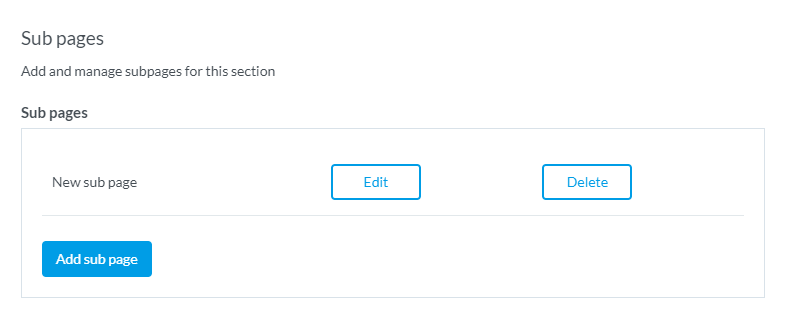
You can find out more information about sub-pages in this support guide here.
6.
Finally, in the last section, set up your Search Engine Optimisation (SEO) rules.
This will help your website and contact details display in search engine results (e.g. ranking higher in Google search results for a search like “Find tennis clubs in Melbourne”).
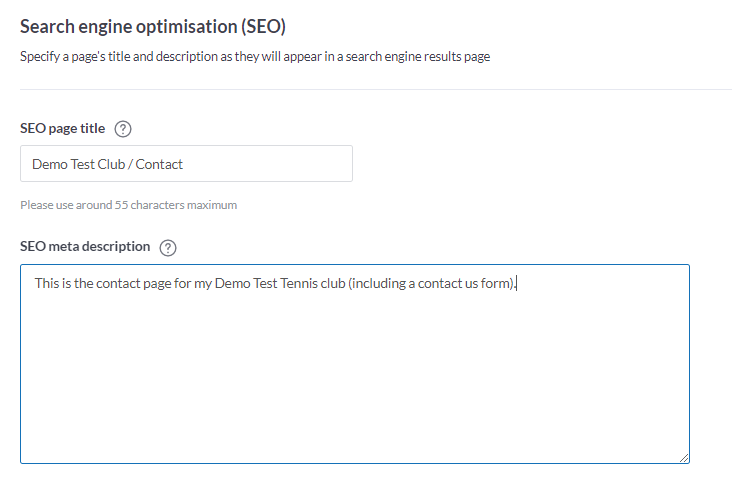
You can find more information about SEO within this support guide here.
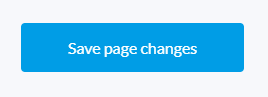
7.
Once you are happy with how your Contact webpage is looking and with any changes made, please remember to click the blue ‘Save page Changes’ button at the bottom of the screen.
8.
Once you’re ready for your web page to display publicly on your website, you’ll need to slide the “Show in navigation?” toggle button on (blue) and click Save page Changes.
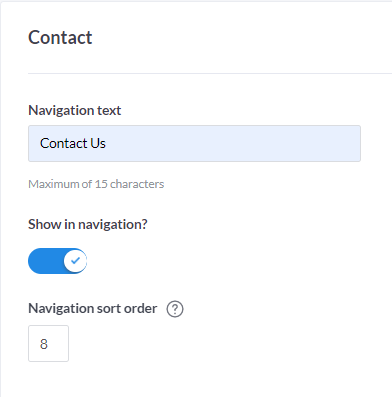
Note: You can set where the Contact page will display in the navigation bar / website menu by filling an order number in the Navigation sort order.
| Need more help? | Contact Customer Support on 1800 752 983 or email [email protected] |