| Platform/Product/Module: | Clubspark – Programs Module |
| Function: | Create monthly subscription programs for participants with free trial periods |
Live: 11/09/2025
The Coaching Subscription feature allows you to create ongoing, monthly subscription-based coaching sessions. Instead of setting a fixed end date, these courses renew each month, giving players flexibility while ensuring steady income for coaches.
This guide walks you through setting up a coaching subscription course, including pricing, payment options, and what players will see on the public-facing booking page.
Please note: In order for your courses to receive online payments you must register an account with our payment provider Stripe
How to Set Up a Coaching Subscription Course
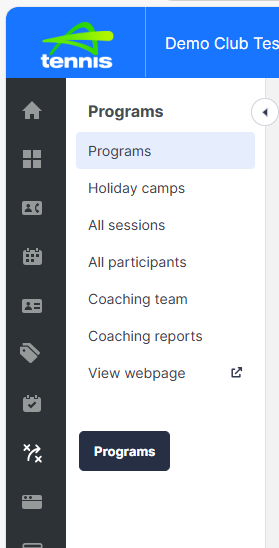
Step 1: Go to Programs >Select your Category, then select Create a new program
-
- Choose a coaching category that is not an NGB (National Governing Body) category, i.e. LTA youth.
- Select Subscriptions as the course type.
Step 2: Enter Course Details
- Fill in the standard details such as course name, description, and location etc.
- Set a start date – but no end date is required, as subscriptions renew monthly.
Step 3: Set Pricing & Payment Options
-
- Enter the monthly subscription cost
- Set different prices for members and non-members if applicable.
- Choose how the subscription payment date is determined:
- Based on date of purchase (renews monthly from the date they sign up).
- 1st of the month (all payments are collected on the first of each month).
- 14th of the month (all payments are collected on the 14th of each month).
- User selection (lets the participant choose from the above options).
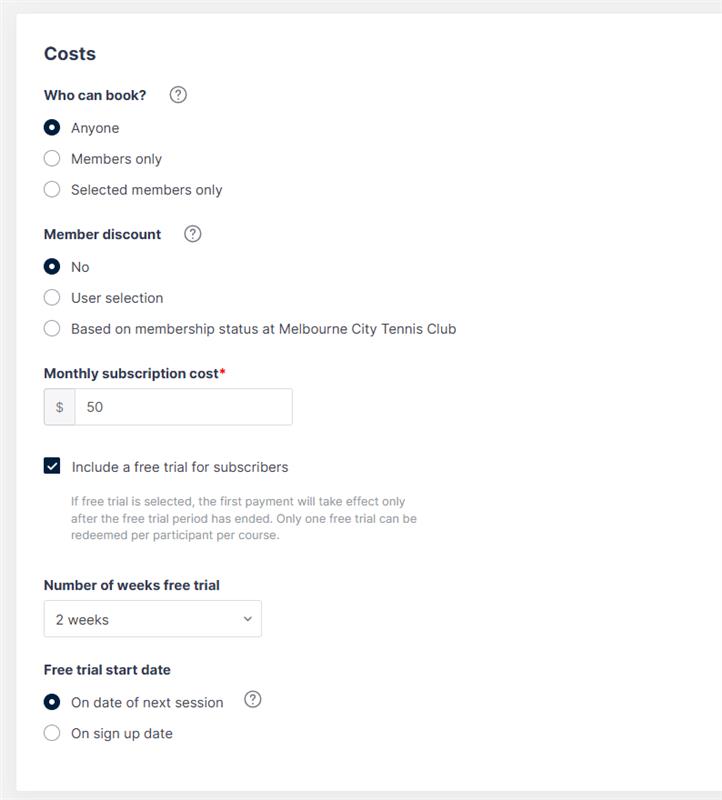
Free Trial for Subscribers: (see image above)
*Here you can also choose to select “Include a free trial for subscribers”
This is part of the coaching subscription feature and only available if you are using the subscription option at present.
The benefits of the free trial period is to get the players signed up and can trial the session. They can choose to cancel prior to their subscription starting.
Select the number of weeks the free trial is open. I.e. if the session is weekly, how many sessions can they attend in the free trial.
Step 4: Save & Publish the Course
- Once all details are completed, click Save Course to publish it.
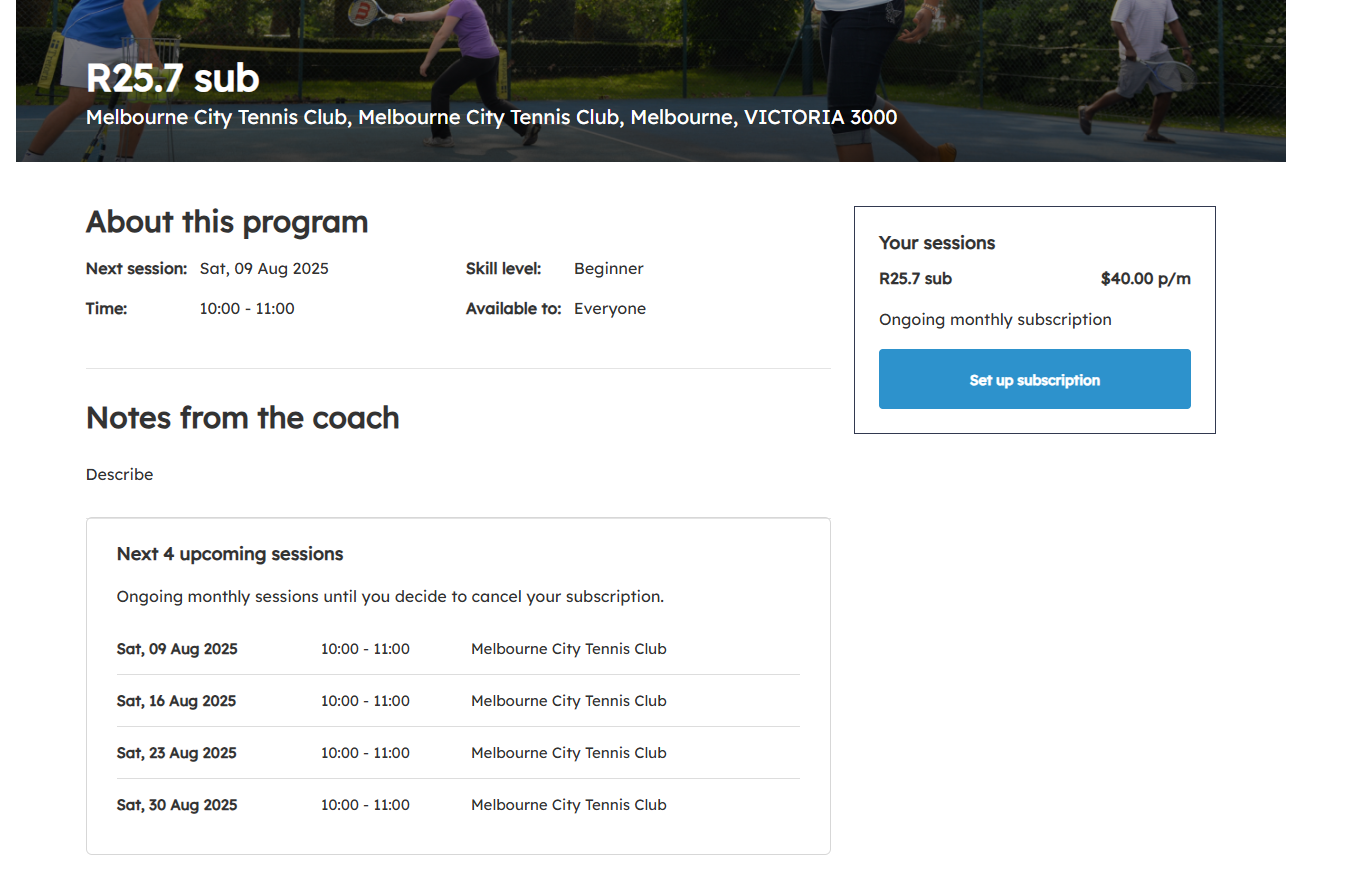
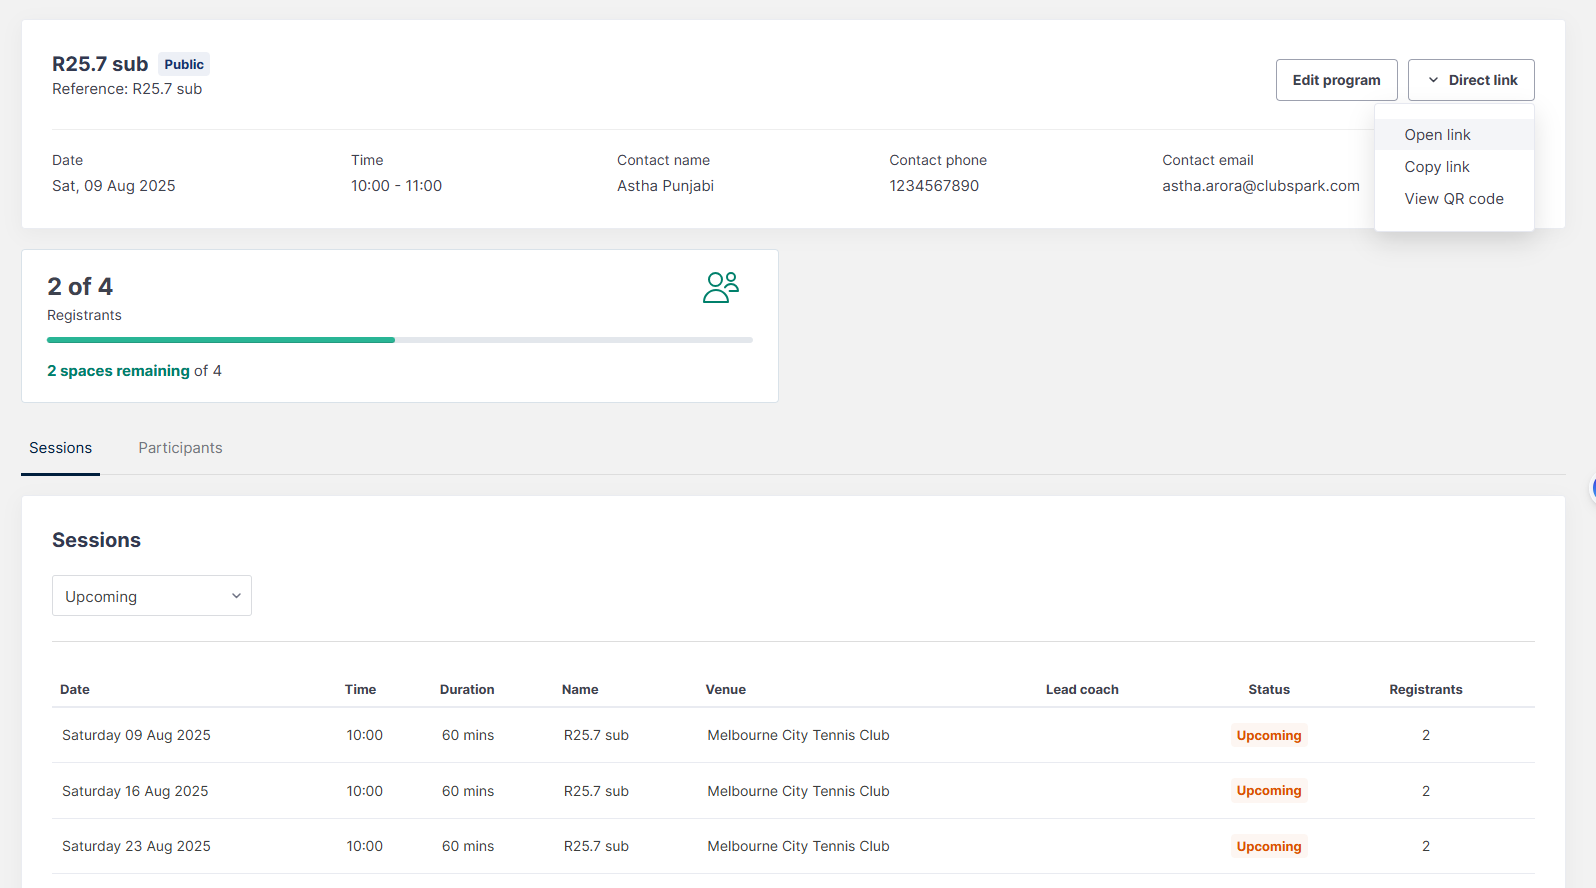
NEXT: A Subscription course will appear in admin as below and the user can select the Direct Link with Open Link selection from the dropdown in the top right corner to view the website.
Step 5: Participants can then view the subscription course on the website and choose to begin there when they select Set up subscription button: