| Platform/Product/Module: | ClubSpark – Contacts |
| Function: | Creating and assigning custom tags to contact records |
Clubs have the ability to associate tags to contacts, which allows for identifying and communicating to specific groups easier and helps to save time when managing large contact lists.
Step 1: Create tags
1.
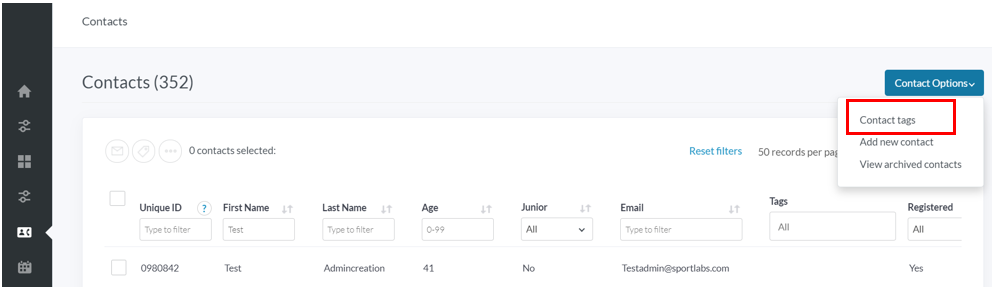
To create a custom tag(s) click Contact tags in the top right corner of the Contacts module, as shown below.
2.
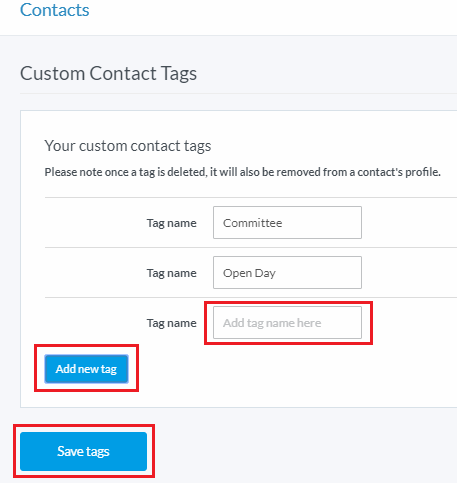
Simply click Add new tag, then enter the Tag name in the text box. Remember to click Save tags, once all custom tags have been added.
Note:
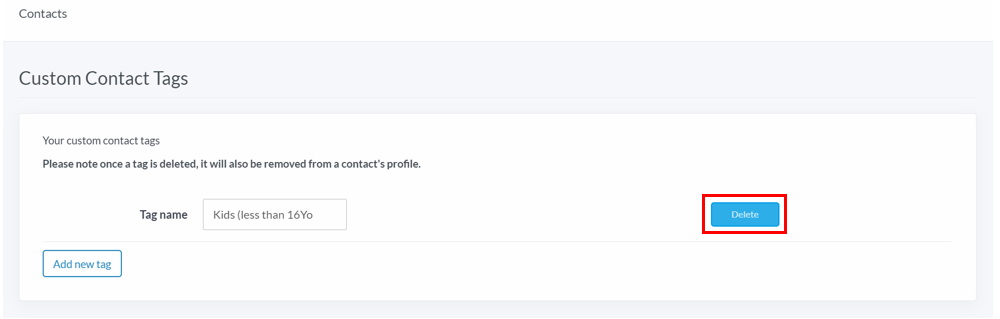
You will also be able to delete a tag from this page, by clicking the Delete button on the right of the row to the tag you’re wanting to delete, then click Save tags to make the deletion.
Once a tag is deleted, it will also be removed from every contact’s profile it was assigned to.
Step 2: Adding tags to one or more contacts
Once a tag has been created, you will be able to assign the new tag to contacts.
1.
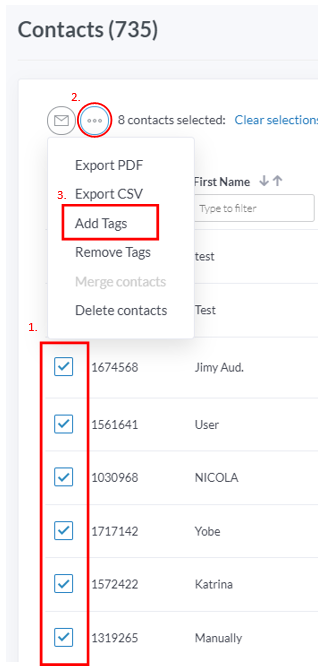
To assign a tag to all contacts or selected individuals, head to the Contacts module and select all contacts that need to be assigned the tag.
We know it’s a demanding step, but it will avoid doing each time you want to send out comms in the future. You can also filter contacts and click on the tick box at the top next to ‘Unique ID’ to select all the relevant contacts at once.
Note:
You can also remove tags from specific contacts by selecting Remove Tags in the dropdown.
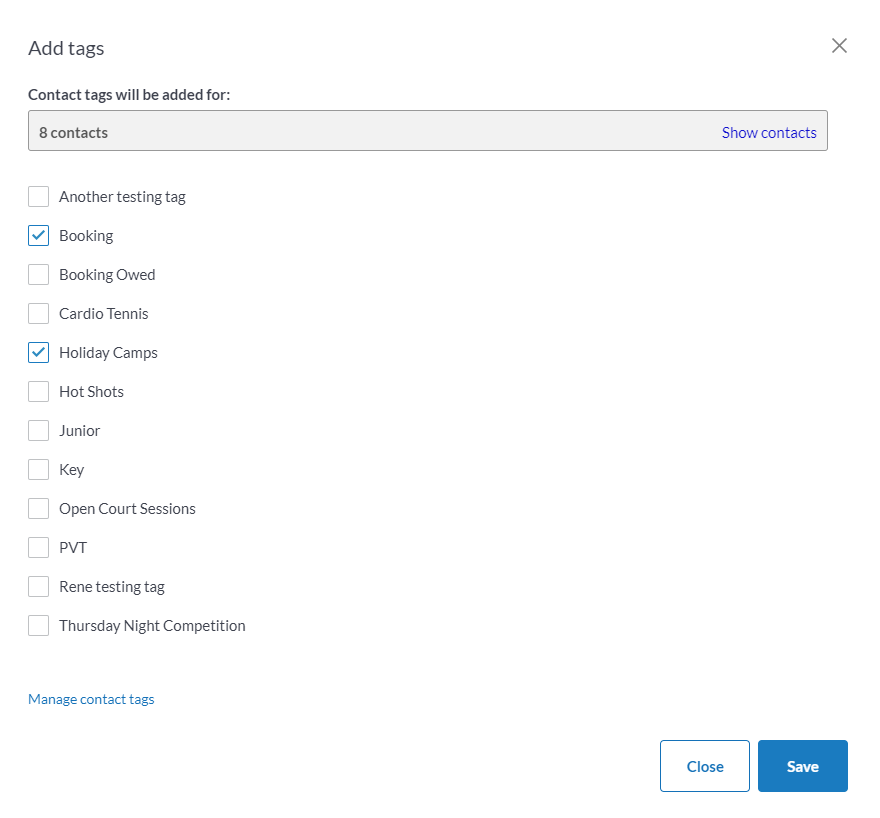
2.
When all contacts have been selected, click on Add Tags and the below overlay will appear.
Tick/select the tag(s) you wish to apply to the contacts selected, then click Save and then click Close.
3.
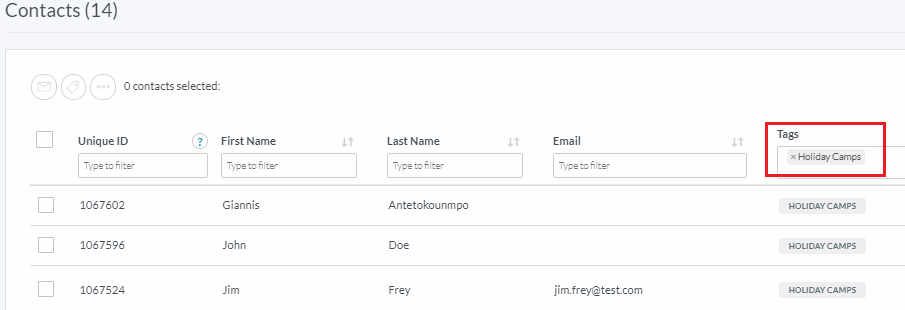
You’ll find the tag(s) have now been successfully assigned to each specific contact.
In the future, when you want to send out emails to this specific group, use the ‘Tags’ column on the filter bar along the top of the contacts to filter the contacts by tag, as shown below.
| Need more help? | Contact Customer Support on 1800 752 983 or email [email protected] |